| 일 | 월 | 화 | 수 | 목 | 금 | 토 |
|---|---|---|---|---|---|---|
| 1 | 2 | 3 | 4 | 5 | 6 | 7 |
| 8 | 9 | 10 | 11 | 12 | 13 | 14 |
| 15 | 16 | 17 | 18 | 19 | 20 | 21 |
| 22 | 23 | 24 | 25 | 26 | 27 | 28 |
Tags
- 안드로이드
- Room
- 제한함수
- 코딩테스트
- 코틀린
- Observable
- 디자인패턴
- 테스트의 장점
- compose
- Di
- MVVM
- 안정성
- 자료구조
- 공격적 프로그래밍
- 컴포즈
- Jetpack
- 안드로이드 디자인패턴
- dagger2
- 파이썬
- 유닛테스트
- 단위테스트
- git
- ViewModel
- Android
- rxjava
- Kotlin
- Python
- mock
- 깃
- UnitTest
Archives
- Today
- Total
세상을 바꾸는 개발자
[Android Kotlin] 둥둥떠다니는 최상위 뷰(FloatingView) 만들기 본문
안녕하세요 헬창 코딩입니다.
오늘은 플로팅 뷰를 만들어 볼 건데요 플로팅 뷰가 무엇이냐면 앱을 끄든지 말든지 계속 떠 있는 뷰를 말합니다.
아이콘이 앱과 상관없이 떠있는거 보이시죠?

모비즌이라는 실제 서비스 중인 앱을 예로 볼게요~
모비즌 아이콘이 막 떠다니죠? 이렇게 실제 서비스에서도 많이 쓰이는 기능입니다.
이제 플로팅 뷰가 어떤 것인지 아시겠죠?
그럼 본격적으로 한번 만들어볼까요~
1. 가장 먼저 프로젝트를 생성합니다.

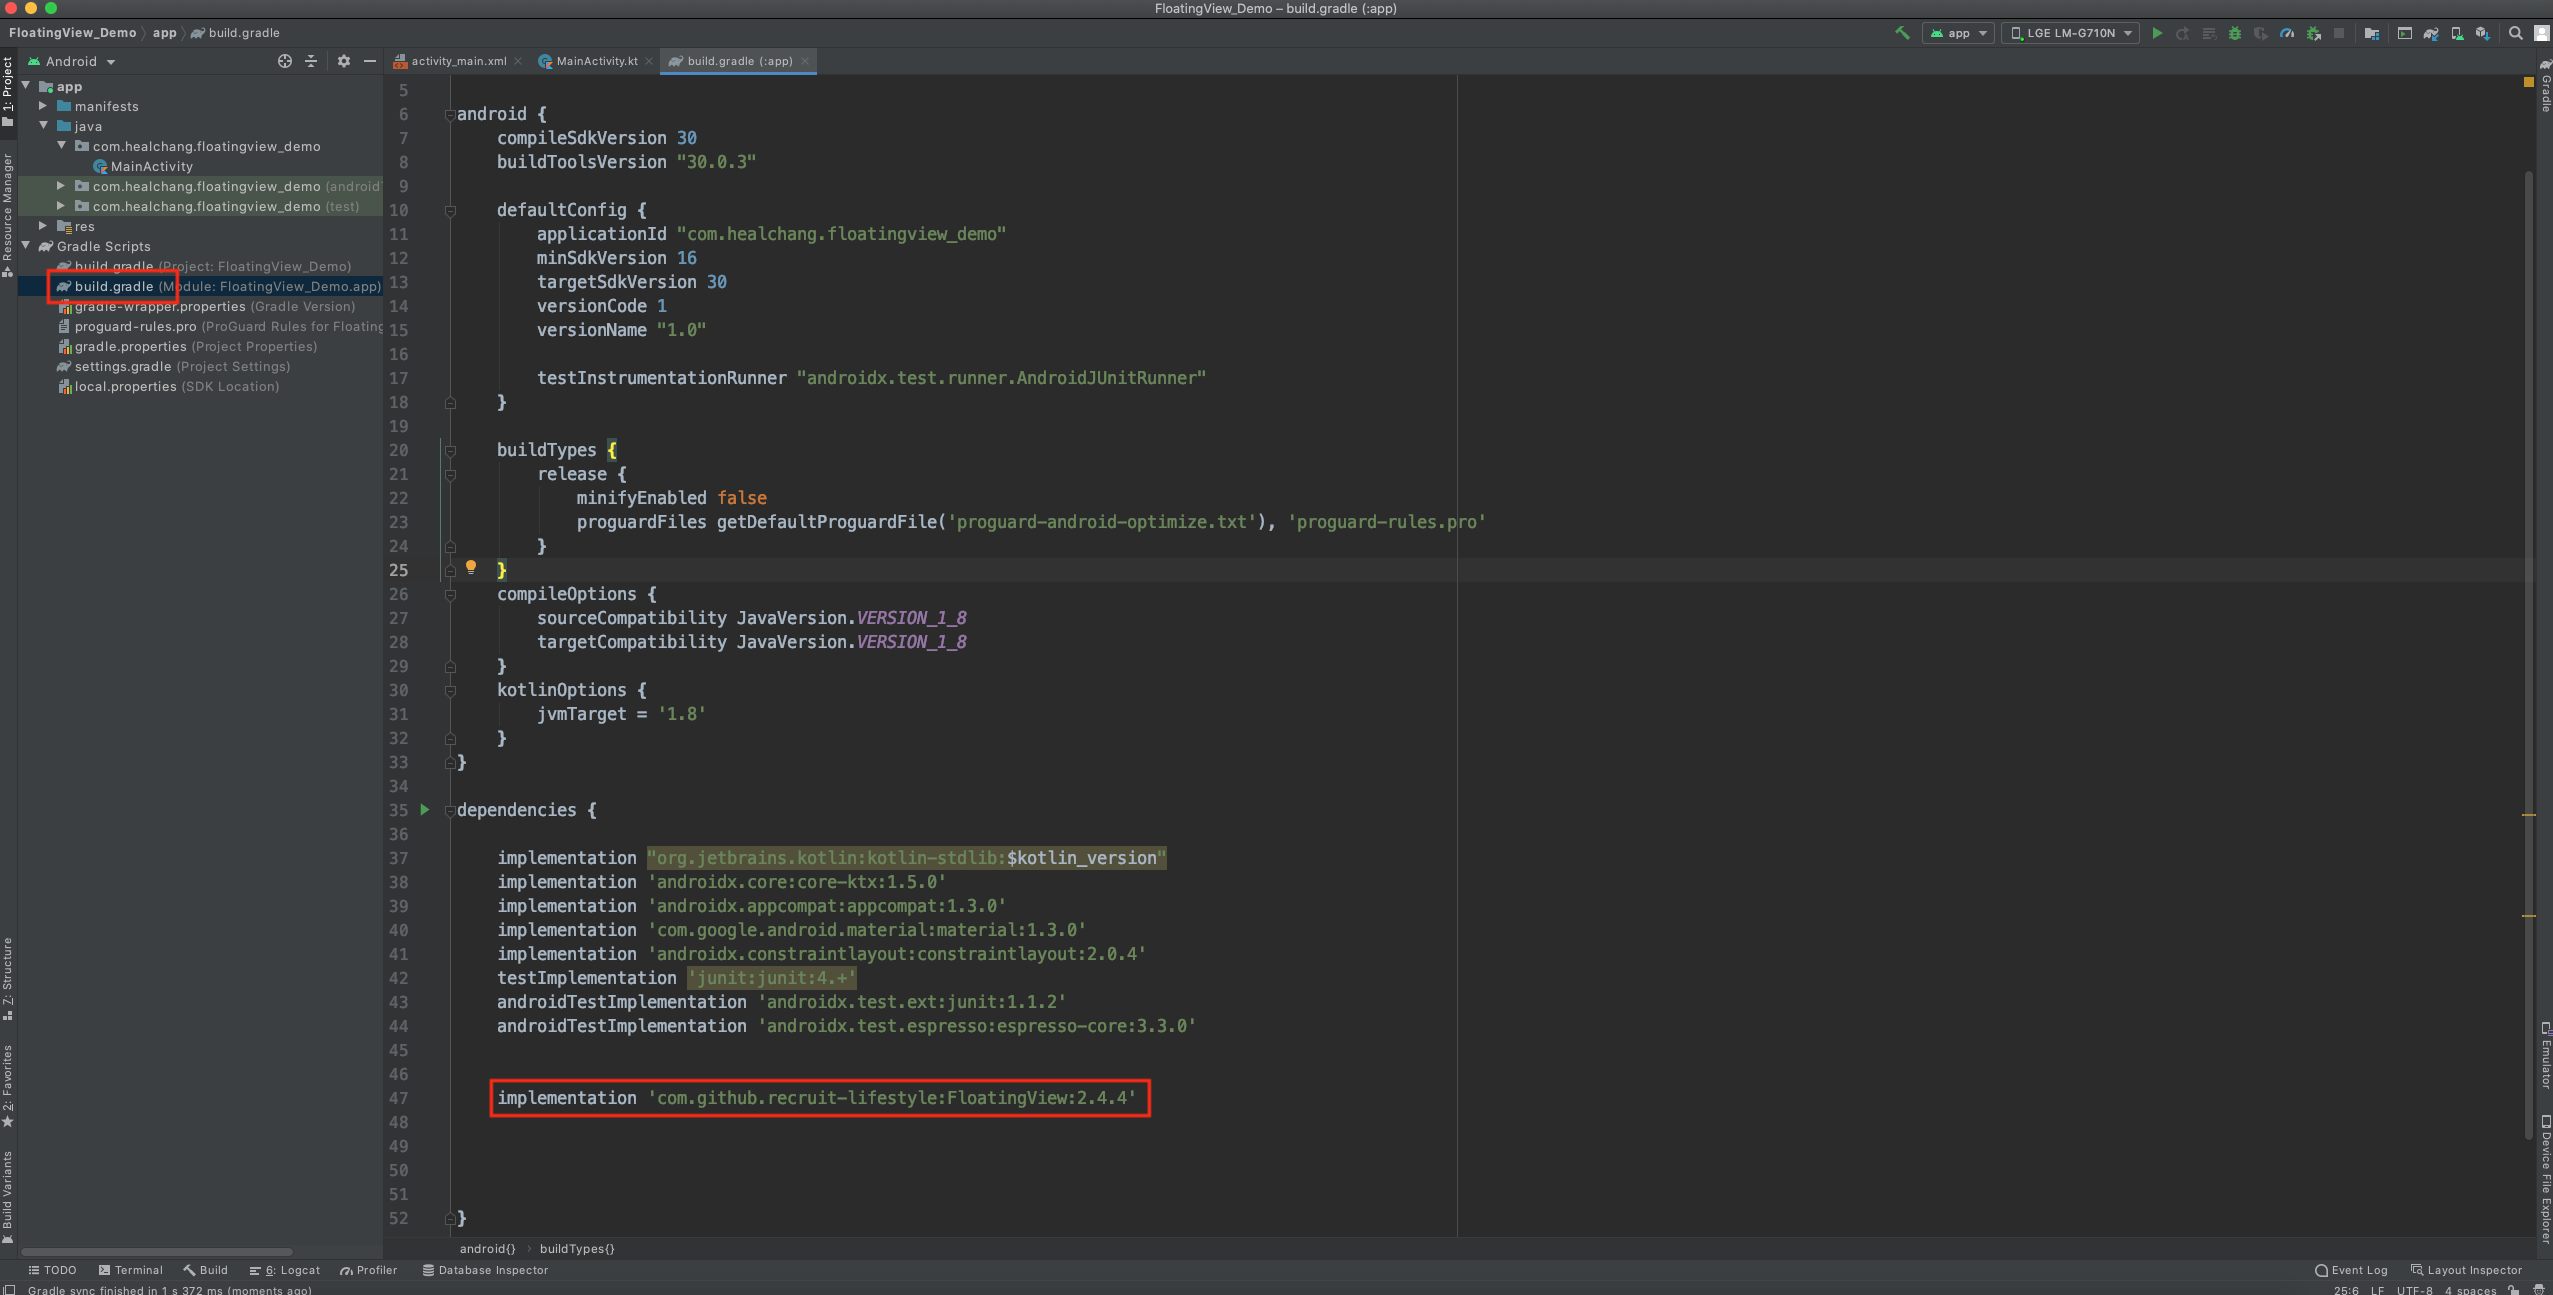
2. Gradle에서 저희가 사용할 라이브러리를 implement 합니다.
|
1
2
|
implementation 'com.github.recruit-lifestyle:FloatingView:2.4.4'
|
cs |
3. repositories에 https://jitpack.io을 추가시켜줘야합니다.
( https://jitpack.io 추가하면 별도의 설정 없이 원격으로 깃허브를 사용할 수 있습니다.)

|
1
2
|
maven { url 'https://jitpack.io' }
|
cs |
4. 다음으로는 Service라는 패키지를 하나 만들어주고 그 안에 4대 컴포넌트 중 하나인 Service를 생성합니다.
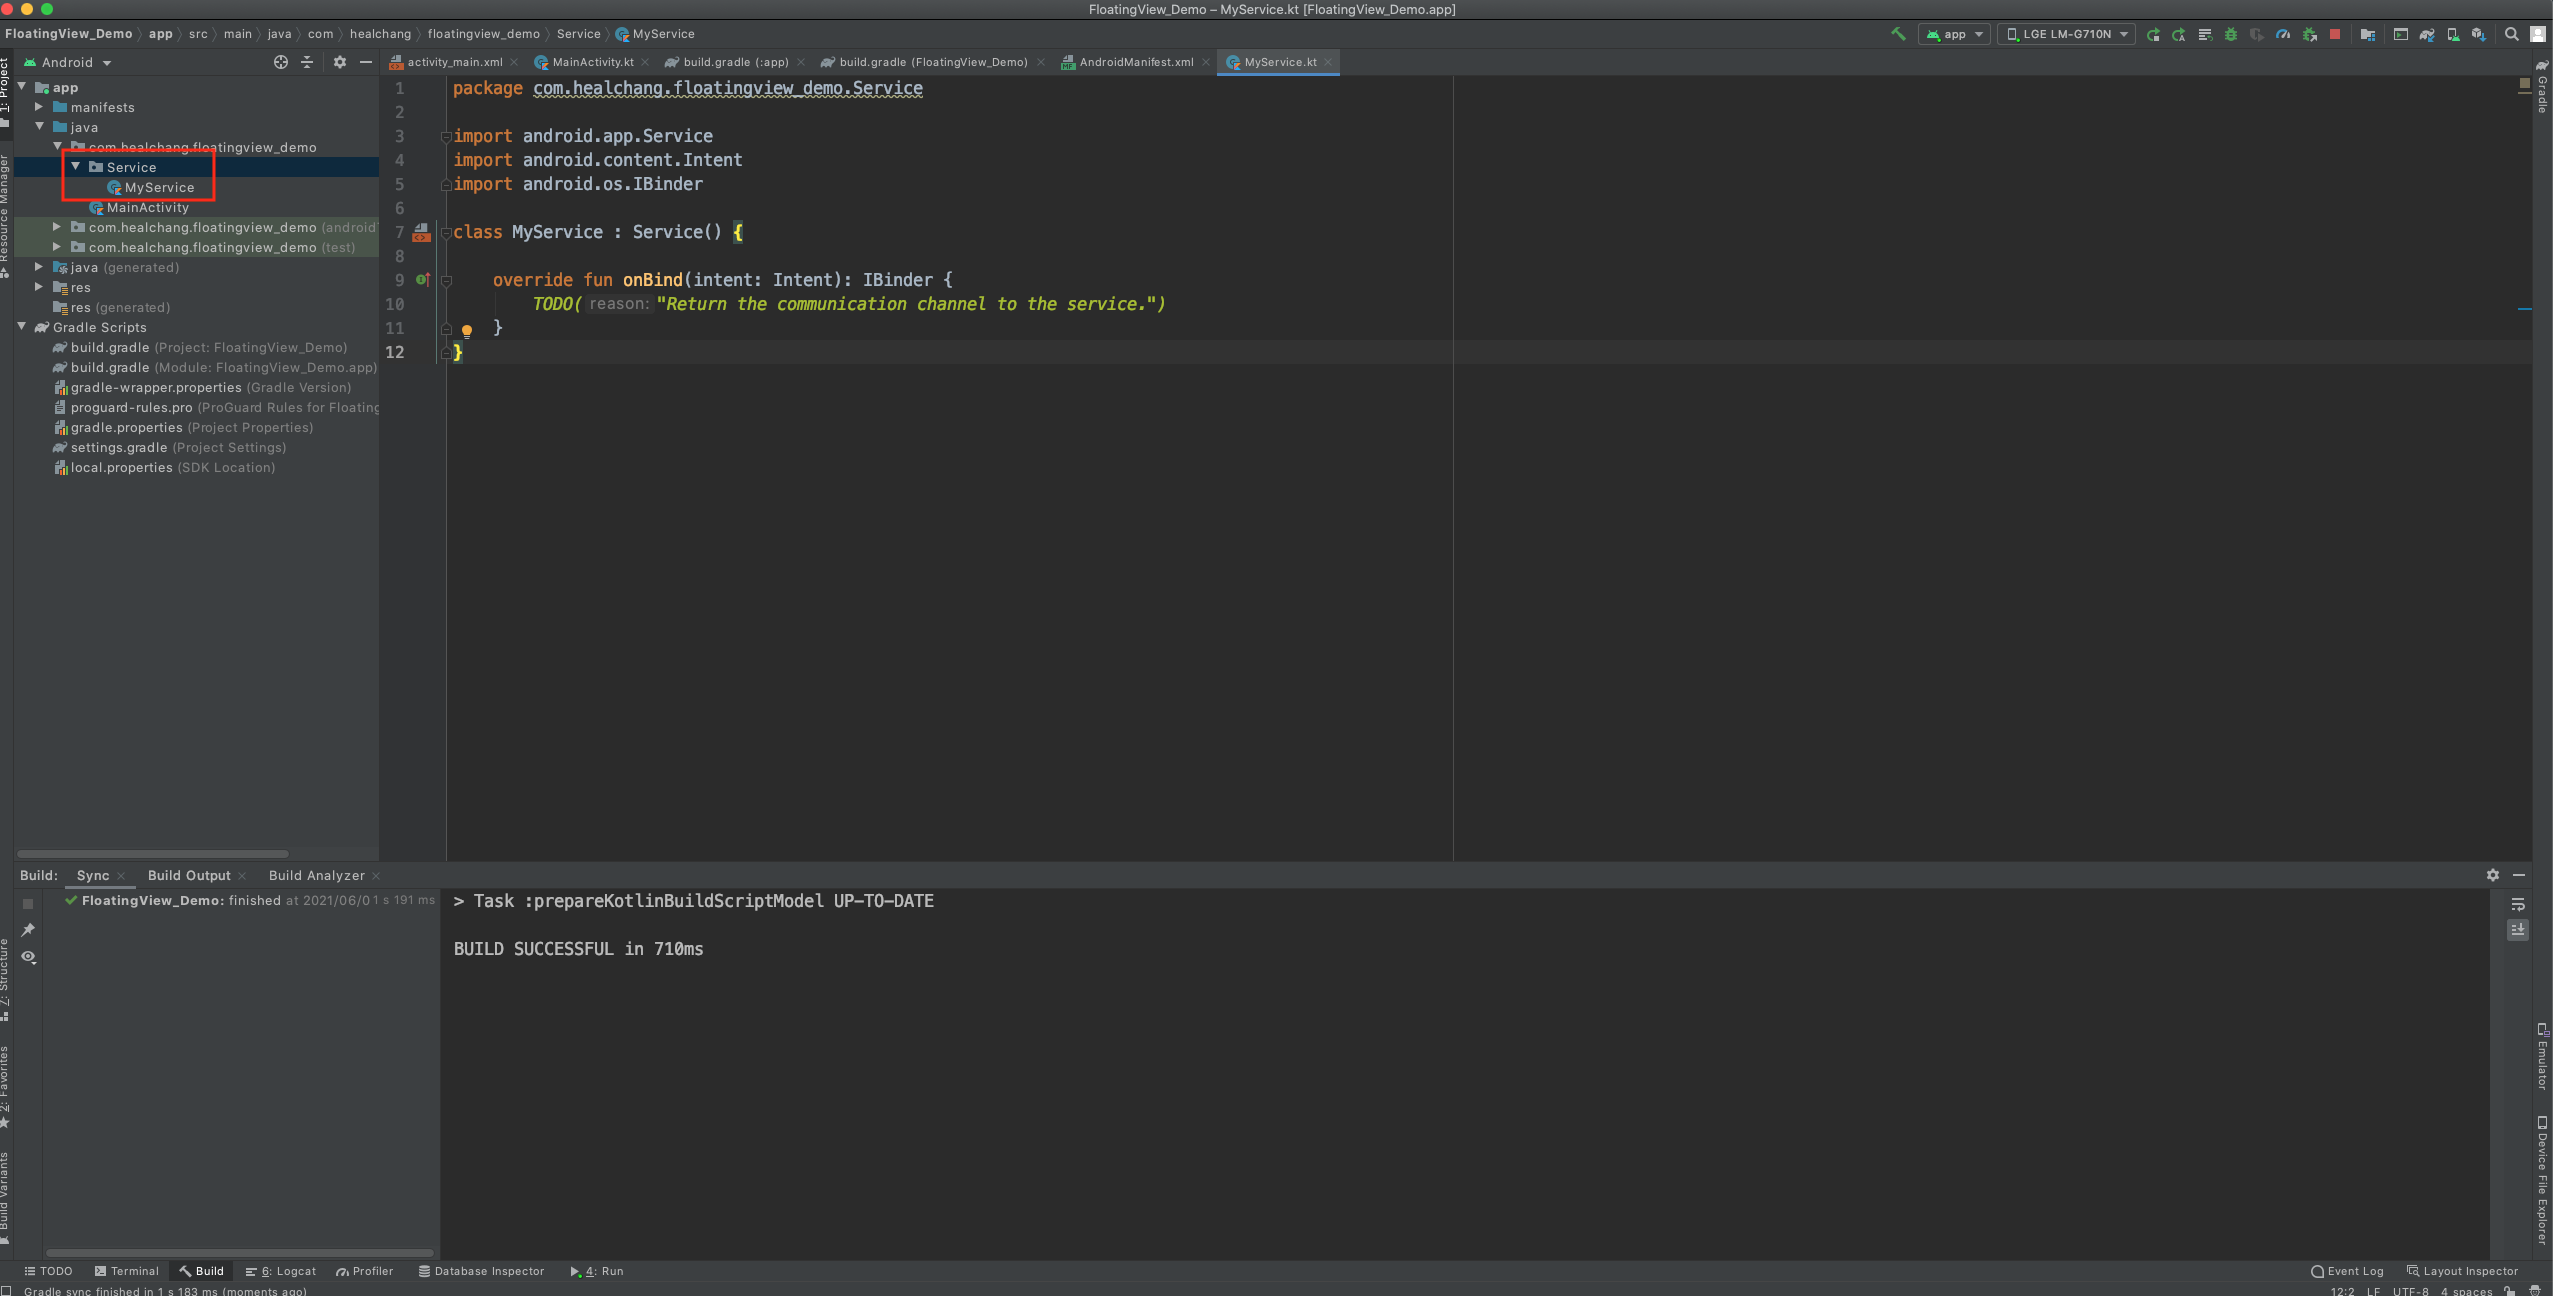
5. 서비스 파일 (MyService.kr) 파일을 생성했다면 메니페스트에서도 선언을 해줘야 합니다.

|
1
2
3
4
|
<service
android:name=".Service.MyService"
android:enabled="true"
android:exported="true"></service>
|
cs |
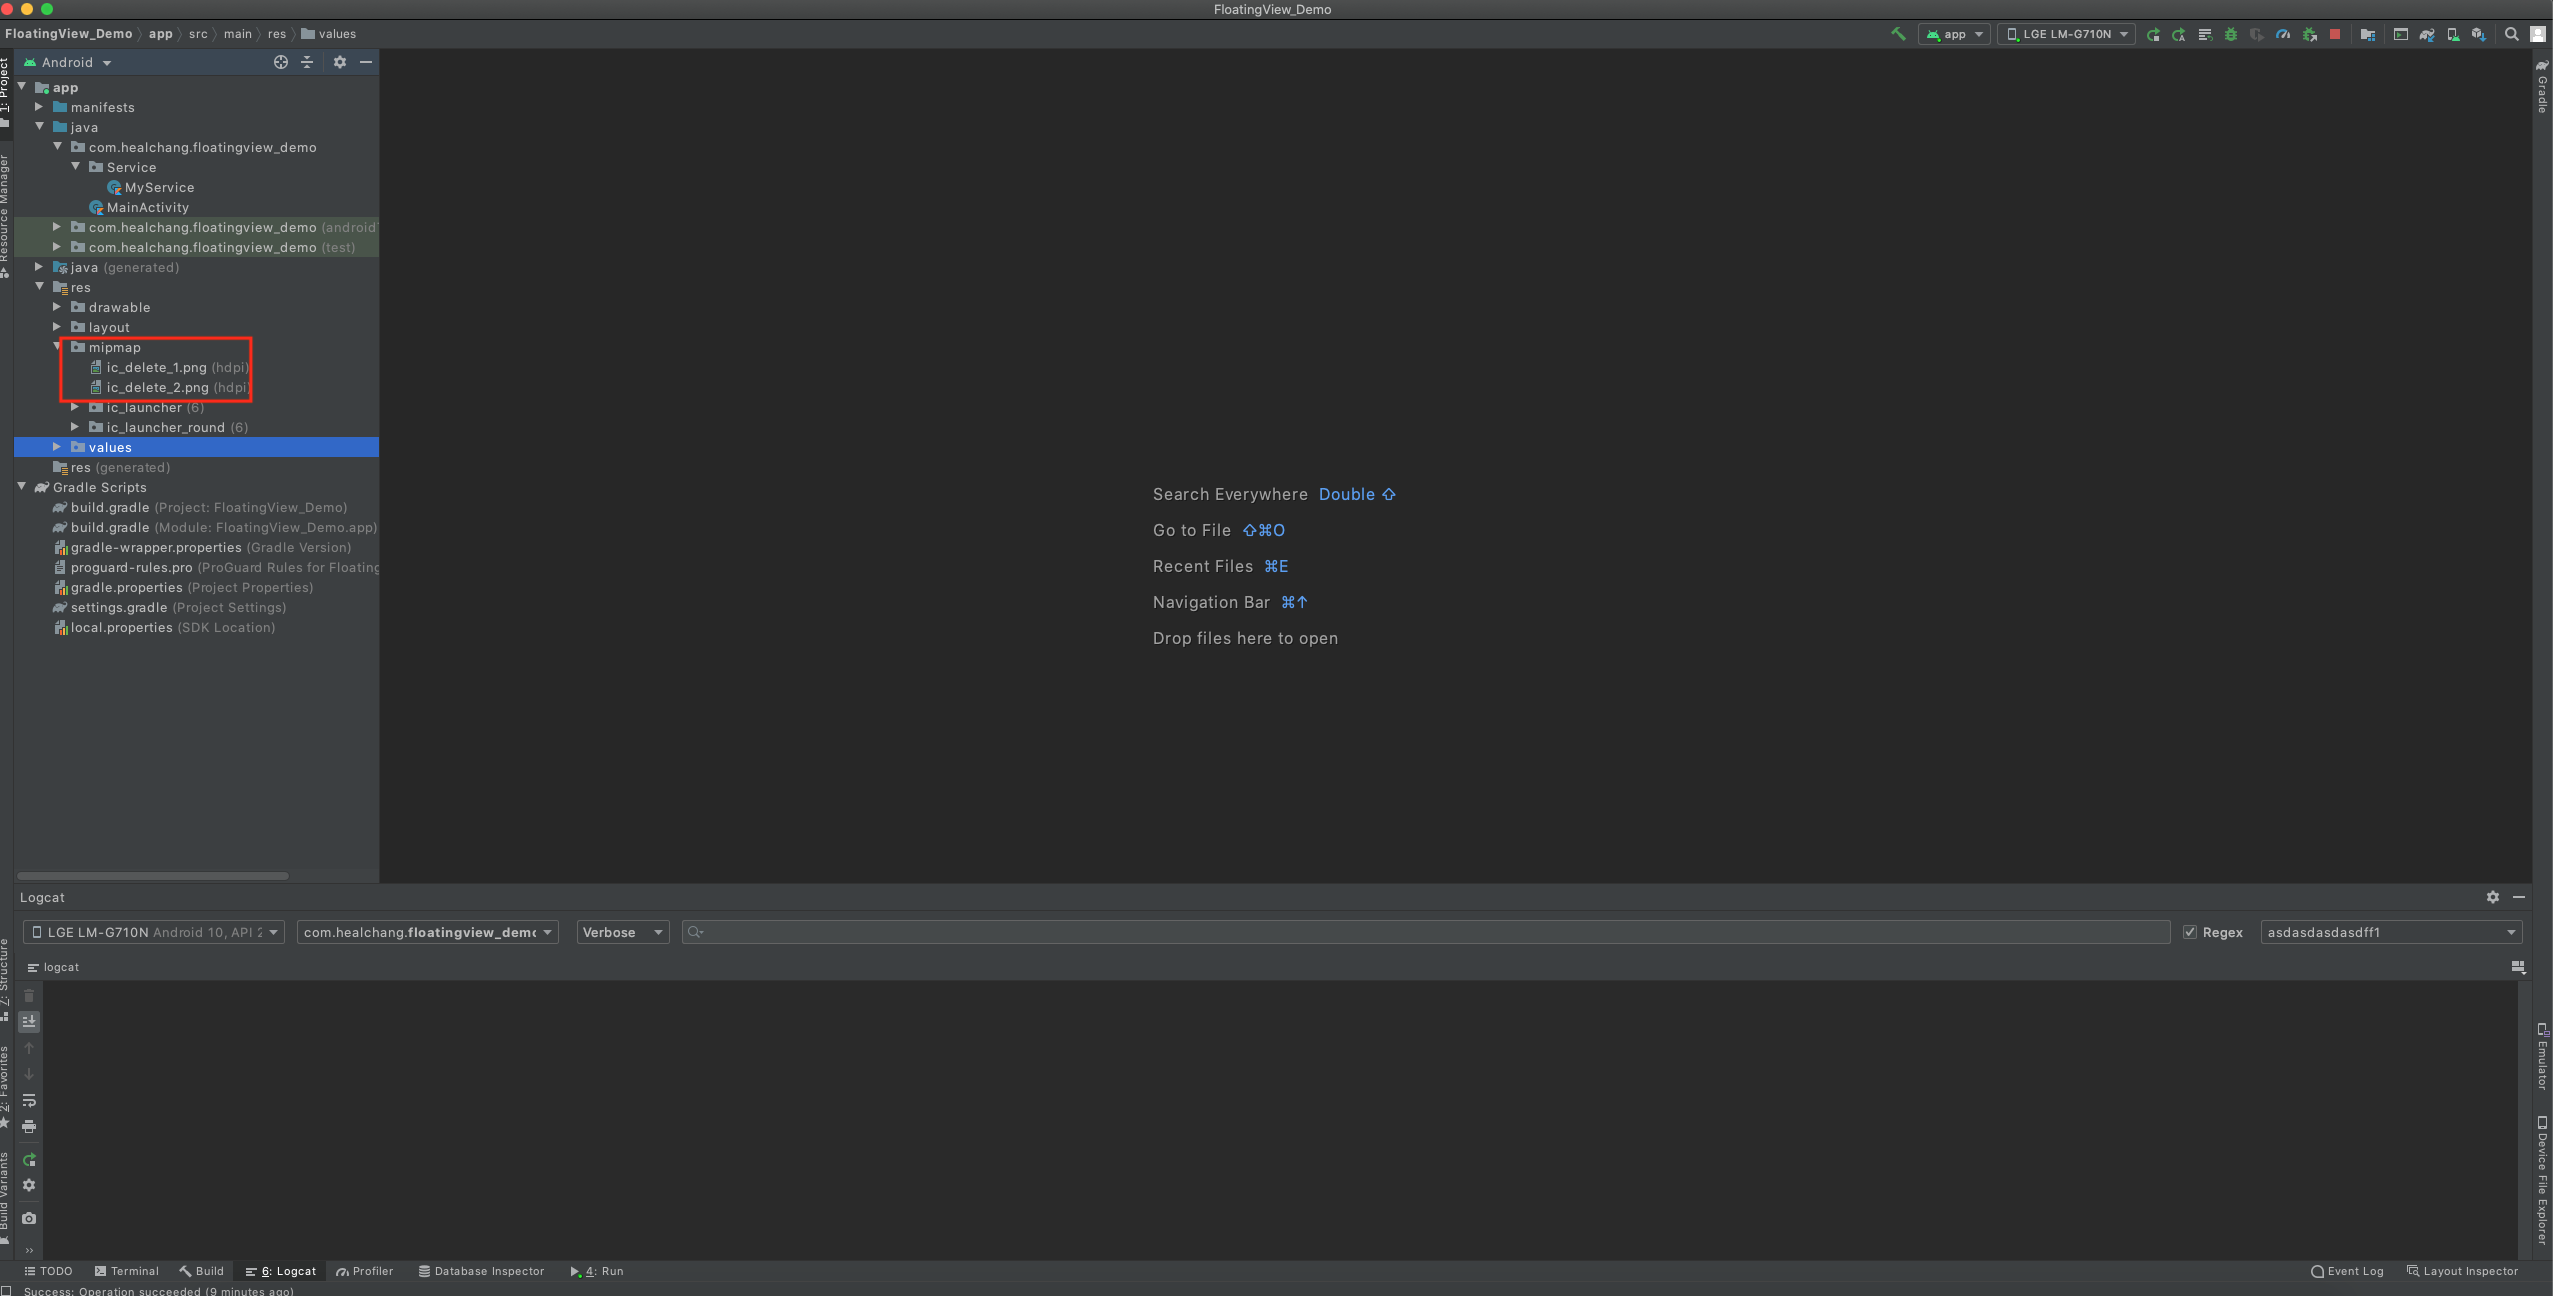
6. 다음으로는 나중에 사용할 이미지를 mipmap 폴더에 넣어주세요


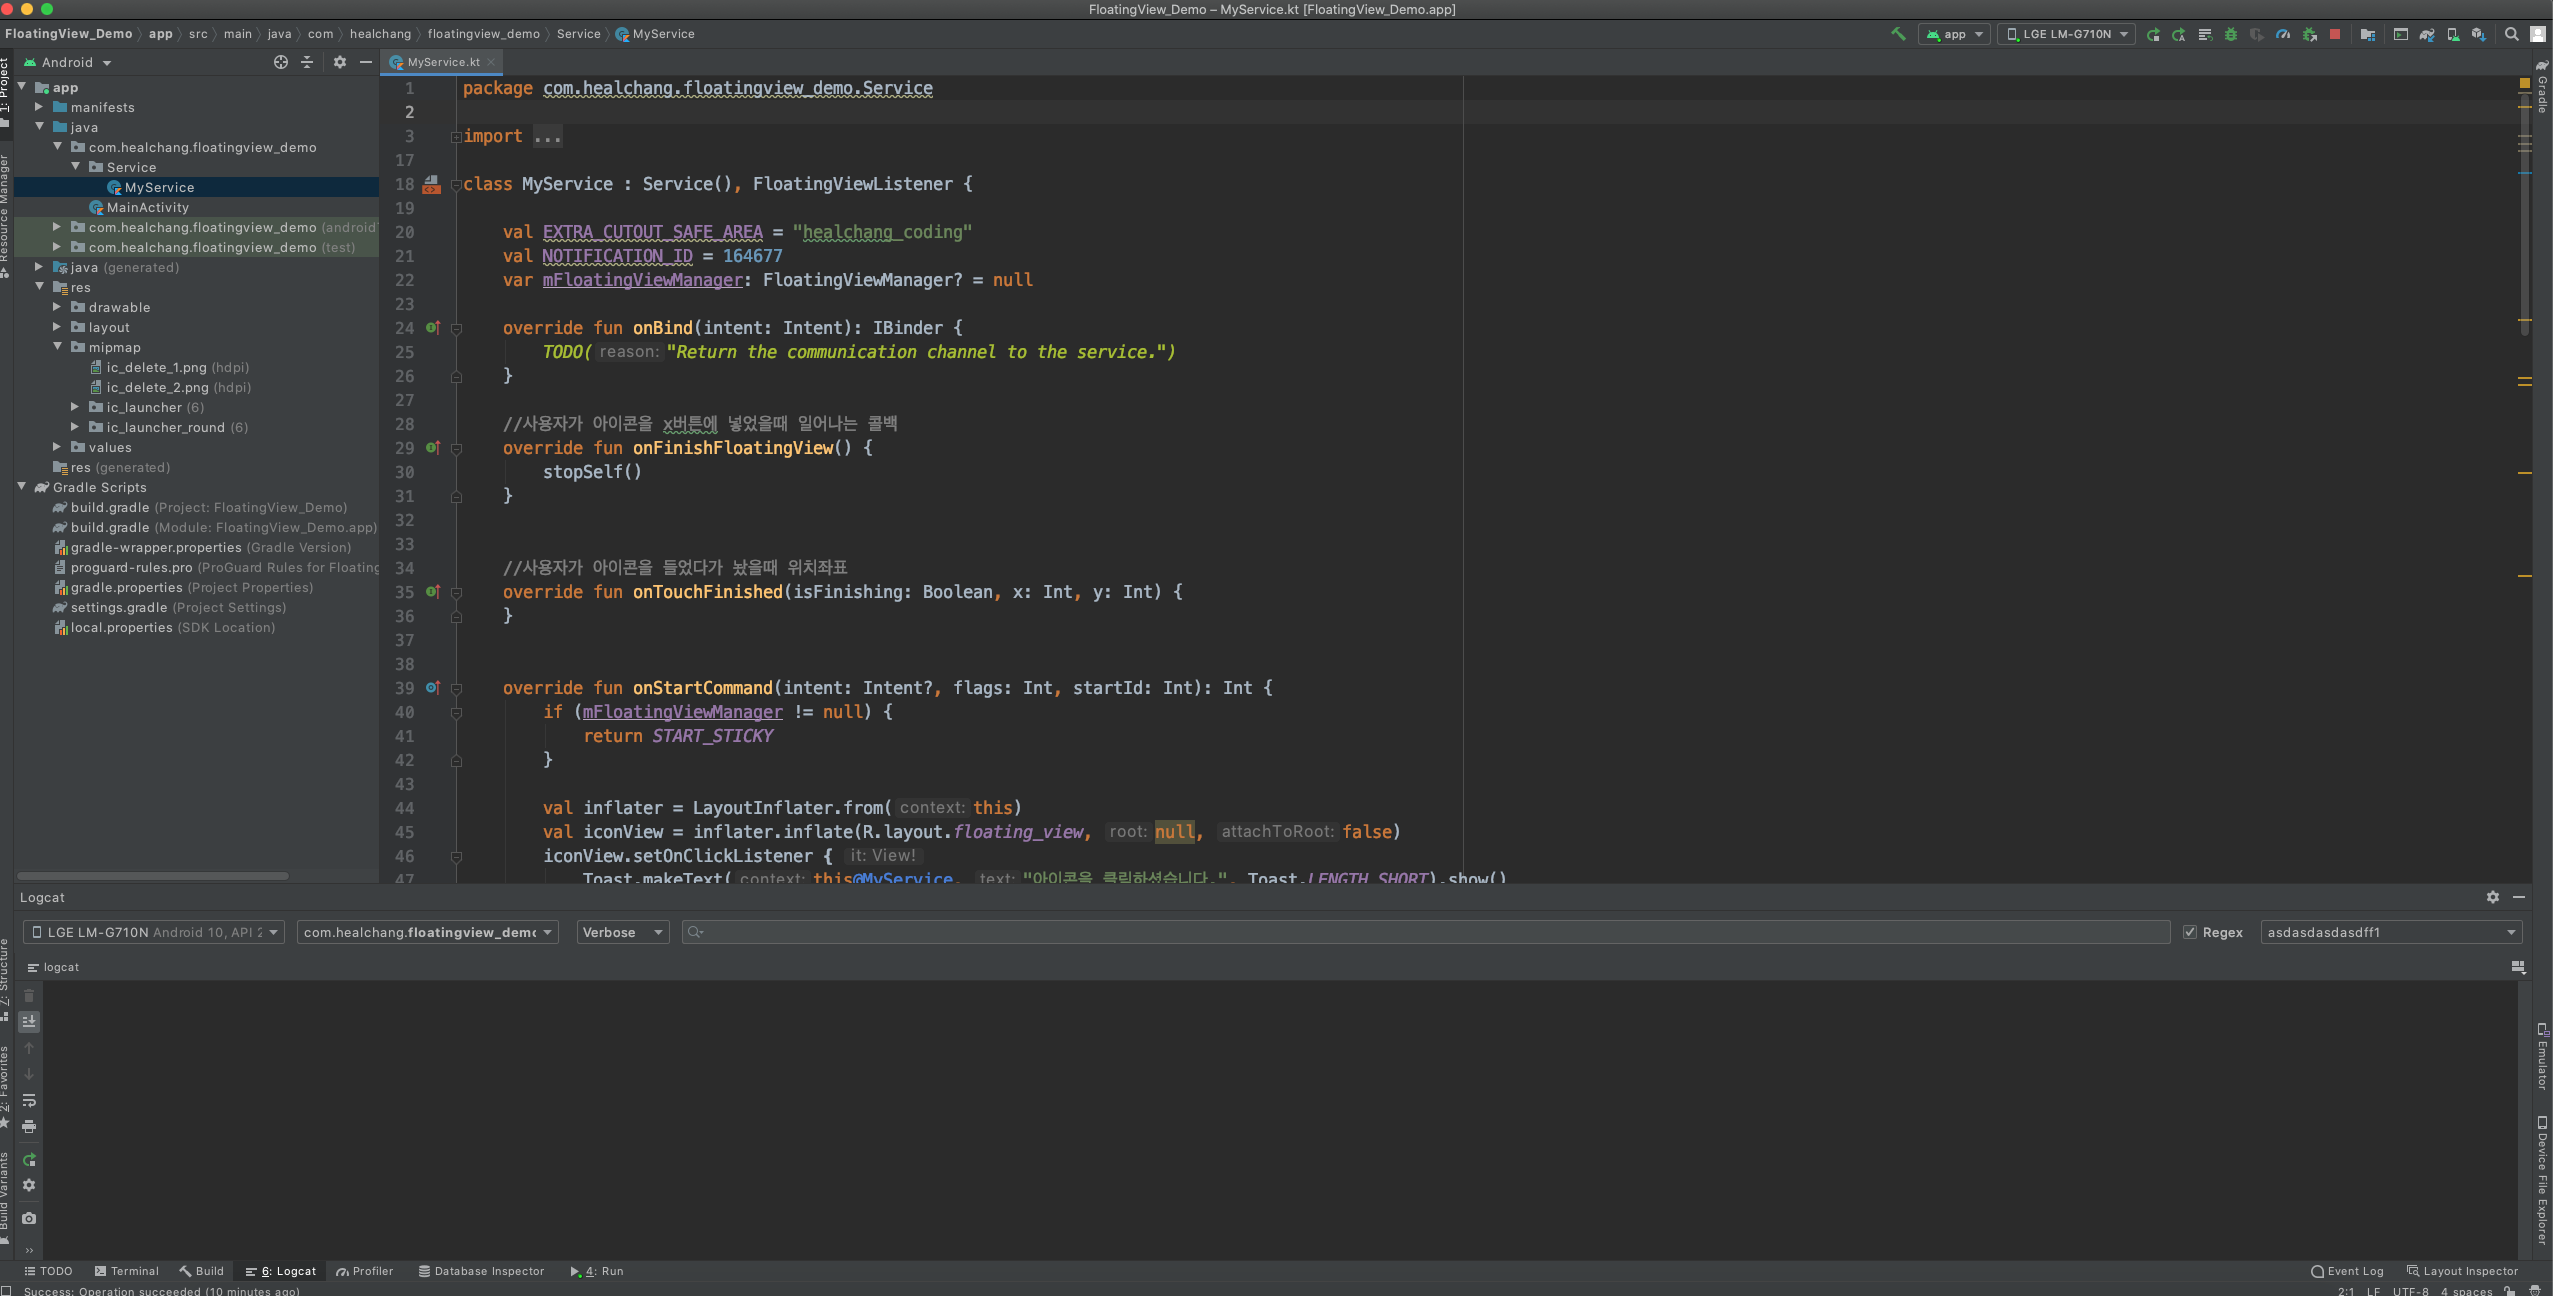
7. MyService 파일에 코드를 입력해보겠습니다.
7. 1 FloatingViewListener를 implement 해서 콜백메서드를 생성합니다.
7. 2. 포그라운드 서비스를 사용할 것이라서 플로팅뷰 생성과 동시에 노티피케이션을 생성합니다.
MyService.kt
|
1
2
3
4
5
6
7
8
9
10
11
12
13
14
15
16
17
18
19
20
21
22
23
24
25
26
27
28
29
30
31
32
33
34
35
36
37
38
39
40
41
42
43
44
45
46
47
48
49
50
51
52
53
54
55
56
57
58
59
60
61
62
63
64
65
66
67
68
69
70
71
72
73
74
75
76
77
78
79
80
81
82
83
84
85
86
87
88
89
90
91
92
93
94
95
96
97
98
99
|
class MyService : Service(), FloatingViewListener {
val EXTRA_CUTOUT_SAFE_AREA = "healchang_coding"
val NOTIFICATION_ID = 164677
var mFloatingViewManager: FloatingViewManager? = null
override fun onBind(intent: Intent): IBinder {
TODO("Return the communication channel to the service.")
}
//사용자가 아이콘을 x버튼에 넣었을때 일어나는 콜백
override fun onFinishFloatingView() {
stopSelf()
}
//사용자가 아이콘을 들었다가 놨을때 위치좌표
override fun onTouchFinished(isFinishing: Boolean, x: Int, y: Int) {
}
override fun onStartCommand(intent: Intent?, flags: Int, startId: Int): Int {
if (mFloatingViewManager != null) {
return START_STICKY
}
val inflater = LayoutInflater.from(this)
val iconView = inflater.inflate(R.layout.floating_view, null, false)
iconView.setOnClickListener {
Toast.makeText(this@MyService, "아이콘을 클릭하셨습니다.", Toast.LENGTH_SHORT).show()
}
mFloatingViewManager = FloatingViewManager(this, this)
mFloatingViewManager!!.setFixedTrashIconImage(R.mipmap.ic_delete_2)
mFloatingViewManager!!.setActionTrashIconImage(R.mipmap.ic_delete_1)
mFloatingViewManager!!.setSafeInsetRect(intent!!.getParcelableExtra(EXTRA_CUTOUT_SAFE_AREA));
mFloatingViewManager!!.setDisplayMode(FloatingViewManager.DISPLAY_MODE_SHOW_ALWAYS);
val options = loadOptions()
mFloatingViewManager!!.addViewToWindow(iconView, options)
startForeground(NOTIFICATION_ID, createNotification(this))
return START_REDELIVER_INTENT
}
private fun loadOptions(): FloatingViewManager.Options? {
val options = FloatingViewManager.Options()
options.shape = FloatingViewManager.SHAPE_CIRCLE
options.moveDirection = FloatingViewManager.MOVE_DIRECTION_NONE
options.floatingViewHeight = 289
val defaultX = (Math.random() * 1000).toInt()
val defaultY = (Math.random() * 3000).toInt()
Log.d("asd2eqwe", "defaultX::$defaultX")
Log.d("asd2eqwe", "defaultY::$defaultY")
options.floatingViewX = defaultX
options.floatingViewY = defaultY
return options
}
private fun createNotification(context: Context): Notification? {
// PendingIntent作成
val notifyIntent = Intent(context, MainActivity::class.java)
val notifyPendingIntent =
PendingIntent.getActivity(context, 0, notifyIntent, PendingIntent.FLAG_UPDATE_CURRENT)
val builder = NotificationCompat.Builder(context, "healchang")
builder.setWhen(System.currentTimeMillis())
builder.setSmallIcon(R.mipmap.ic_launcher)
builder.setContentTitle("헬창코딩")
builder.setContentText("헬창코딩")
builder.setOngoing(true)
builder.priority = NotificationCompat.PRIORITY_MIN
builder.setCategory(NotificationCompat.CATEGORY_SERVICE)
builder.setContentIntent(notifyPendingIntent)
if (Build.VERSION.SDK_INT >= Build.VERSION_CODES.O) {
val name: CharSequence = "healchang"
val description = "healchang"
val importance = NotificationManager.IMPORTANCE_LOW
val channel = NotificationChannel("healchang", name, importance)
channel.description = description
val notificationManager = getSystemService(
NotificationManager::class.java
)
notificationManager.createNotificationChannel(channel)
}
return builder.build()
}
override fun onDestroy() {
if (mFloatingViewManager != null) {
mFloatingViewManager!!.removeAllViewToWindow()
mFloatingViewManager = null
}
}
}
|
cs |
8. 마지막으로 만들어준 포그라운드 서비스를 메인엑티비티에서 호출하는 코드를 넣어주겠습니다.
8.1 플로팅뷰를 사용하기 위해서는 사용자에게 다른 앱 위에 표시할 수 있는 권한을 얻어야 합니다.
먼저 사용자에게 권한을 물어보는 코드를 넣어줌니다.
8.2 권한을 얻었다면 앞서 만들었던 서비스를 실행시키는 코드를 입력합니다.
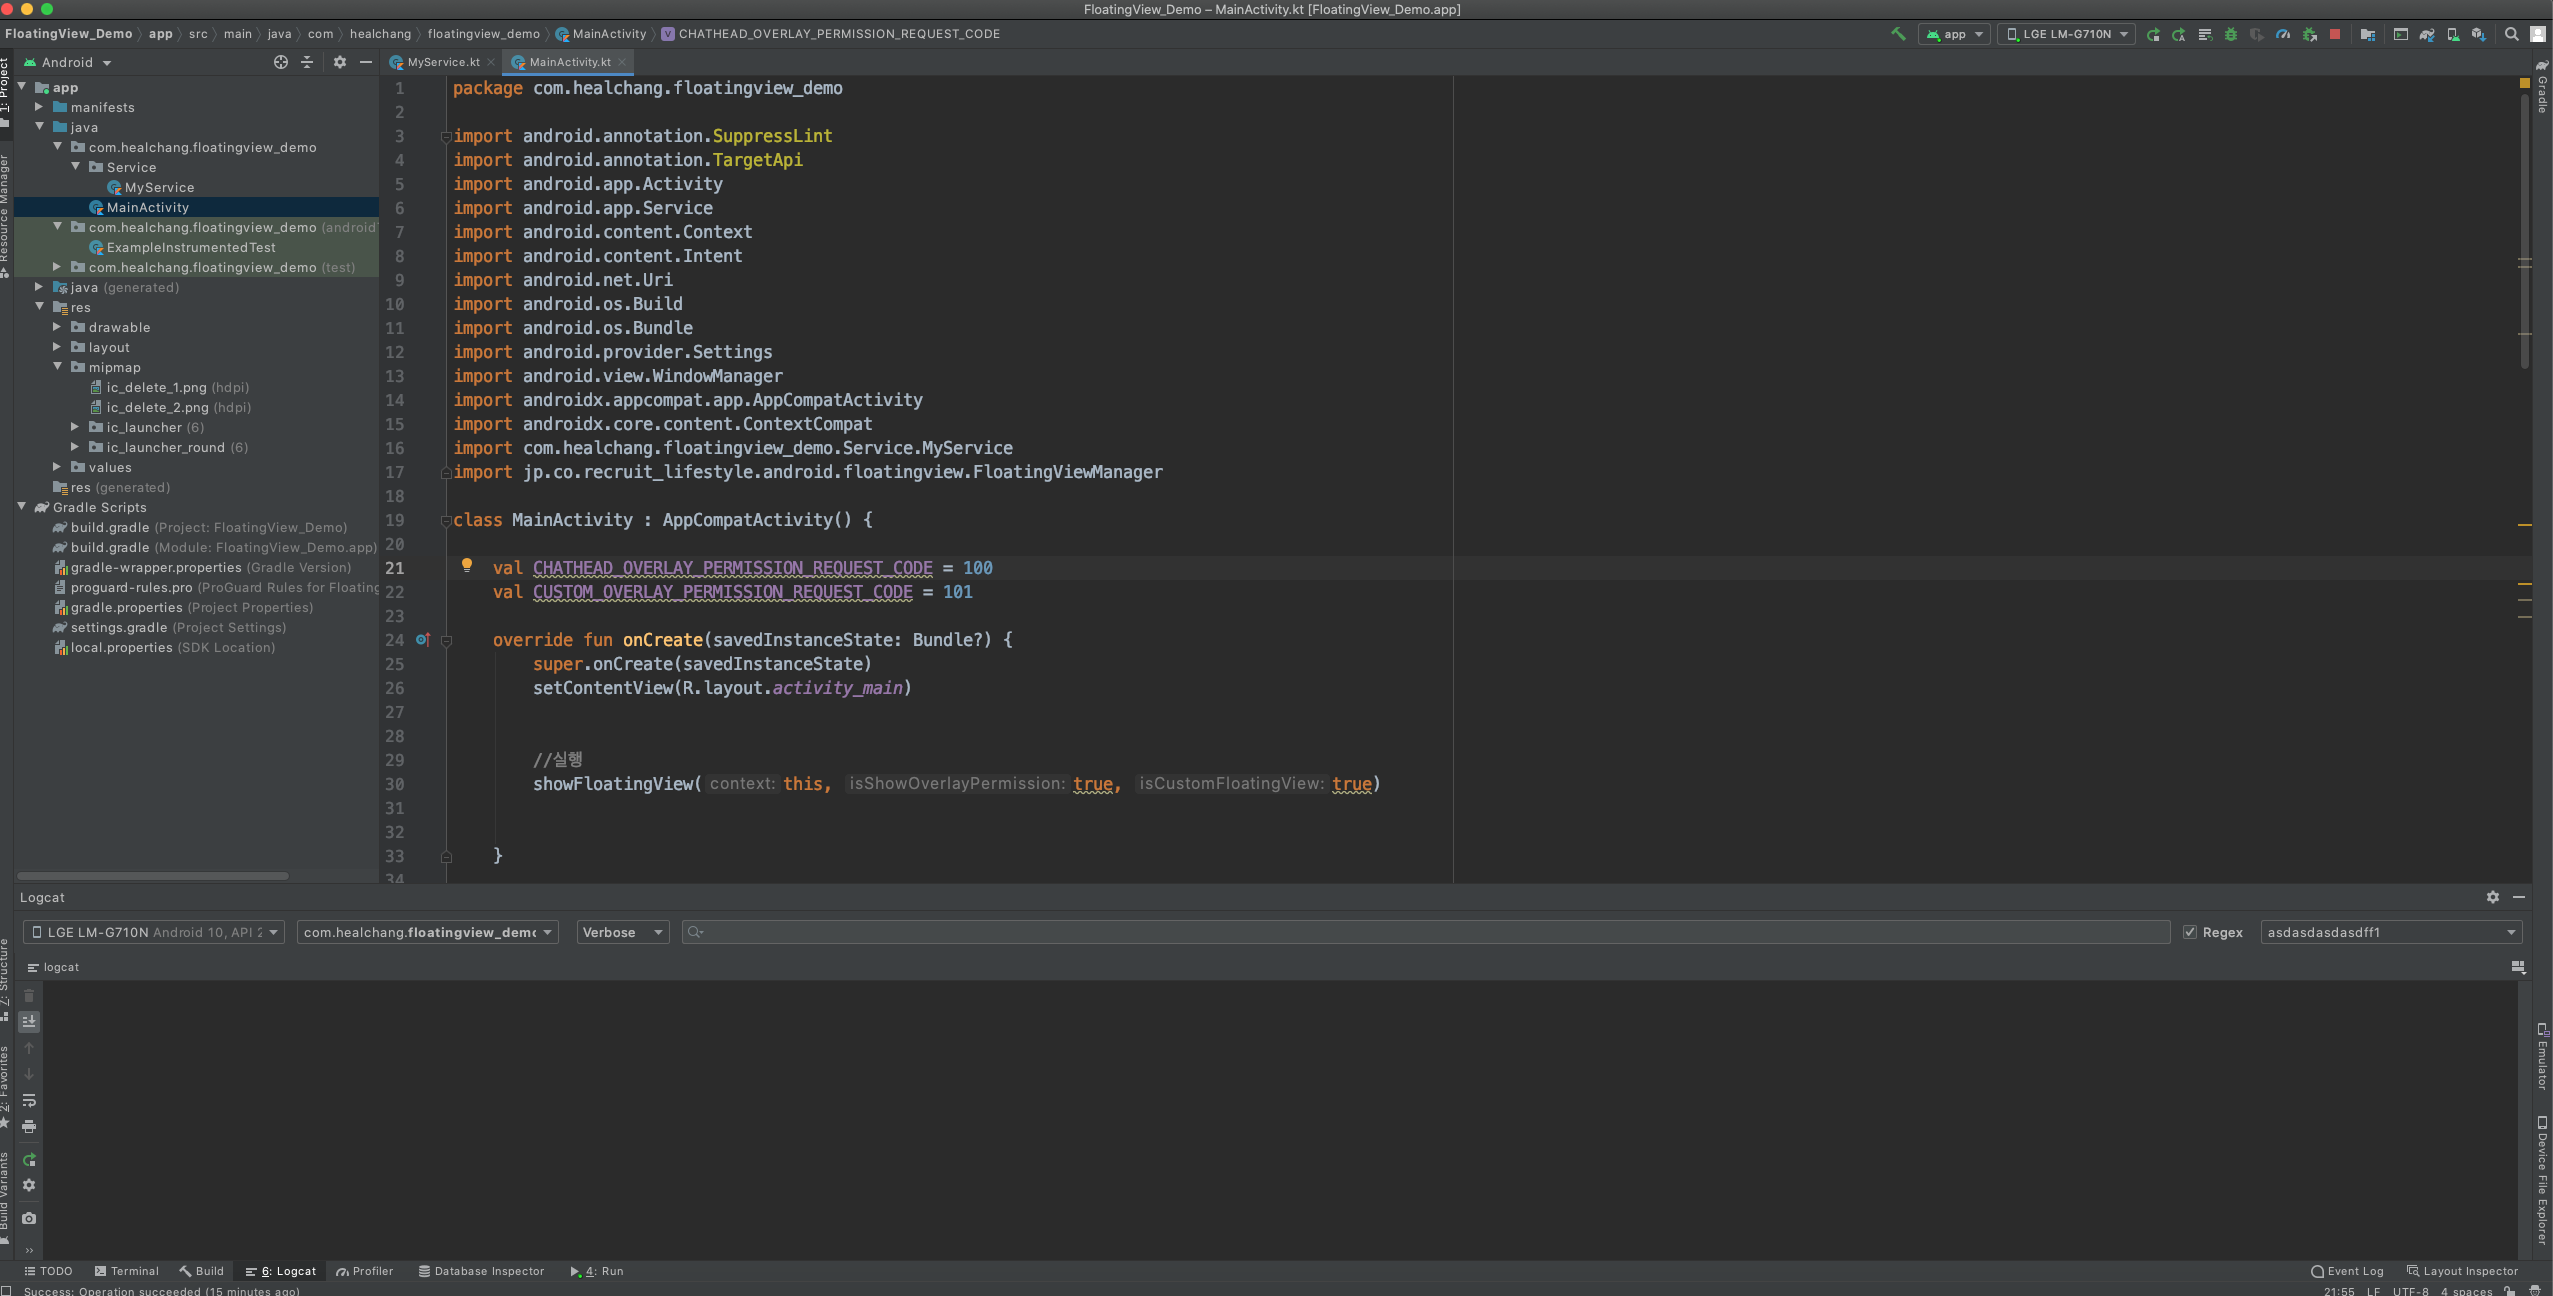
MainActivity.kt
|
1
2
3
4
5
6
7
8
9
10
11
12
13
14
15
16
17
18
19
20
21
22
23
24
25
26
27
28
29
30
31
32
33
34
35
36
37
38
39
40
41
42
43
44
45
46
47
48
49
50
51
52
53
54
55
56
57
58
59
60
61
62
63
64
65
66
67
68
69
70
71
72
|
class MainActivity : AppCompatActivity() {
val CHATHEAD_OVERLAY_PERMISSION_REQUEST_CODE = 100
val CUSTOM_OVERLAY_PERMISSION_REQUEST_CODE = 101
override fun onCreate(savedInstanceState: Bundle?) {
super.onCreate(savedInstanceState)
setContentView(R.layout.activity_main)
//실행
showFloatingView(this, true, true)
}
//권한체크 및 서비스 실행 메서드
@SuppressLint("NewApi")
private fun showFloatingView(context: Context, isShowOverlayPermission: Boolean, isCustomFloatingView: Boolean) {
// API22以下かチェック
if (Build.VERSION.SDK_INT <= Build.VERSION_CODES.LOLLIPOP_MR1) {
startFloatingViewService(this, isCustomFloatingView)
return
}
// 다른앱위에 표시 할수 있는지 체크
if (Settings.canDrawOverlays(context)) {
startFloatingViewService(this, isCustomFloatingView)
return
}
// 오버레이 퍼미션 체크
if (isShowOverlayPermission) {
val intent = Intent(Settings.ACTION_MANAGE_OVERLAY_PERMISSION, Uri.parse("package:" + context.packageName))
startActivityForResult(intent, if (isCustomFloatingView) CUSTOM_OVERLAY_PERMISSION_REQUEST_CODE else CHATHEAD_OVERLAY_PERMISSION_REQUEST_CODE)
}
}
//권한 상태콜백
@TargetApi(Build.VERSION_CODES.M)
override fun onActivityResult(requestCode: Int, resultCode: Int, data: Intent?) {
super.onActivityResult(requestCode, resultCode, data)
if (requestCode == CHATHEAD_OVERLAY_PERMISSION_REQUEST_CODE) {
showFloatingView(application, false, false)
} else if (requestCode == CUSTOM_OVERLAY_PERMISSION_REQUEST_CODE) {
showFloatingView(application, false, true)
}
}
//권한이 승인되었다면 호출됨
private fun startFloatingViewService(activity: Activity, isCustomFloatingView: Boolean) {
if (Build.VERSION.SDK_INT >= Build.VERSION_CODES.P) {
if (activity.window.attributes.layoutInDisplayCutoutMode == WindowManager.LayoutParams.LAYOUT_IN_DISPLAY_CUTOUT_MODE_NEVER) {
throw RuntimeException("'windowLayoutInDisplayCutoutMode' do not be set to 'never'")
}
}
// launch service
val service: Class<out Service?>
val key: String
if (isCustomFloatingView) {
service = MyService::class.java
key = "healchang_coding"
} else {
service = MyService::class.java
key = "healchang_coding"
}
val intent = Intent(activity, service)
intent.putExtra(key, FloatingViewManager.findCutoutSafeArea(activity))
ContextCompat.startForegroundService(activity, intent)
}
}
|
cs |
자 이제 모든 준비는 끝났습니다. 한번 실행시켜볼까요
잘 실행되네요~ 수고하셨습니다.
'안드로이드 > Kotlin' 카테고리의 다른 글
Comments
